
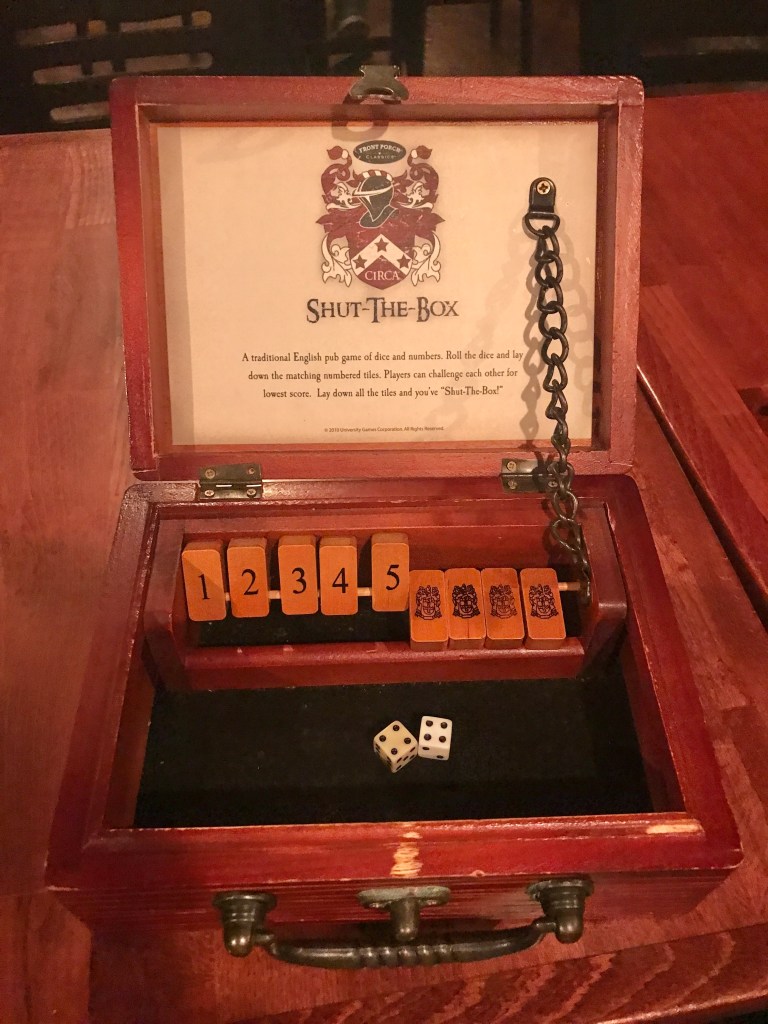
Walking distance from my house, there’s an English-style pub that I frequent. Along with a quiet ambiance, they serve cask ales. Good ones. As part of that ambiance, the pub has a bookshelf stocked with quite a few games, as well as books of course. One of the games drew my attention – not because I wanted to play it but because the box was interesting. Shut the Box is a simple dice game not too unlike Yahtzee. Roll a pair of dice and using the results see if you can eliminate numbers in the form of tiles, 1 through 9. Probably gets more interesting as you consume those cask ales. My interest was in the possibility of reproducing the game in my woodshop. That in mind, with the next visit to the pub I brought along a ruler and recorded all the relevant dimensions. My thought was to replicate the design fairly closely. Here’s the original from the pub:

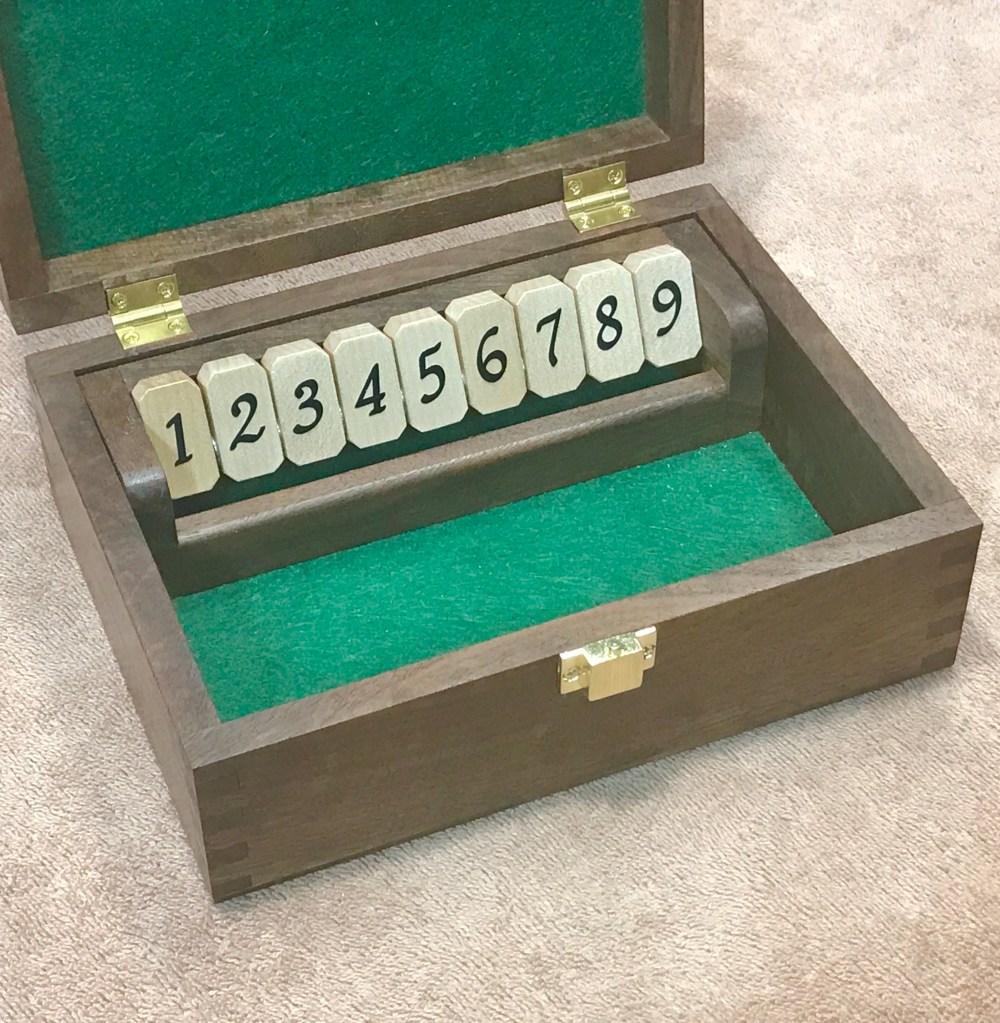
And here’s mine:
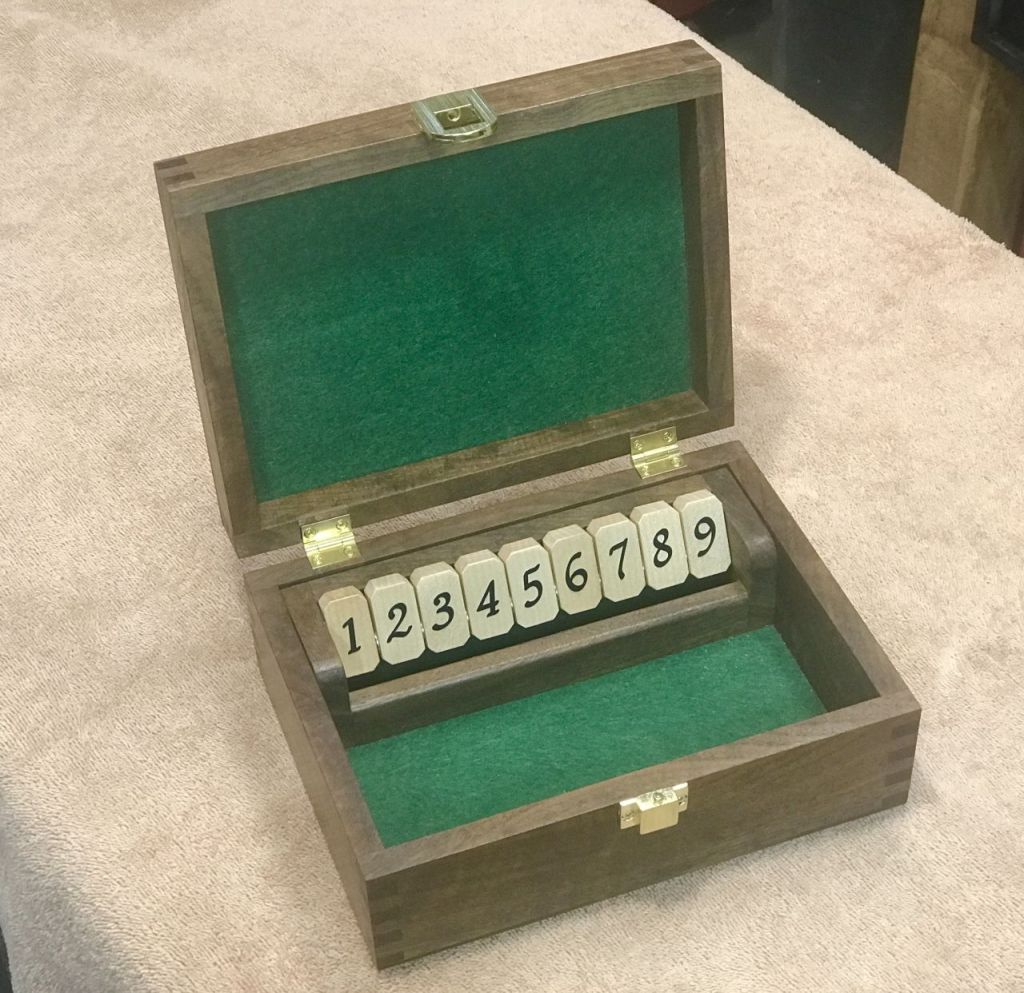
Mine is slightly bigger than the pub’s version, and as you can see, I decided not to attach a carrying handle. I have no idea what species of wood the original is made from but mine is walnut with alder number tiles.
In theory, this shouldn’t be a challenging project. In practice, it turned out to be just that. Walnut is a hard, somewhat brittle wood so I knew I’d have to be careful to avoid chipouts and such. The top and bottom pieces were joined using my Rockler box joint jig, which I’ve used before and now have some practice with. The larger bottom piece went OK but the top, not so much, due to failures in skill (me), failures in design and failures in equipment.
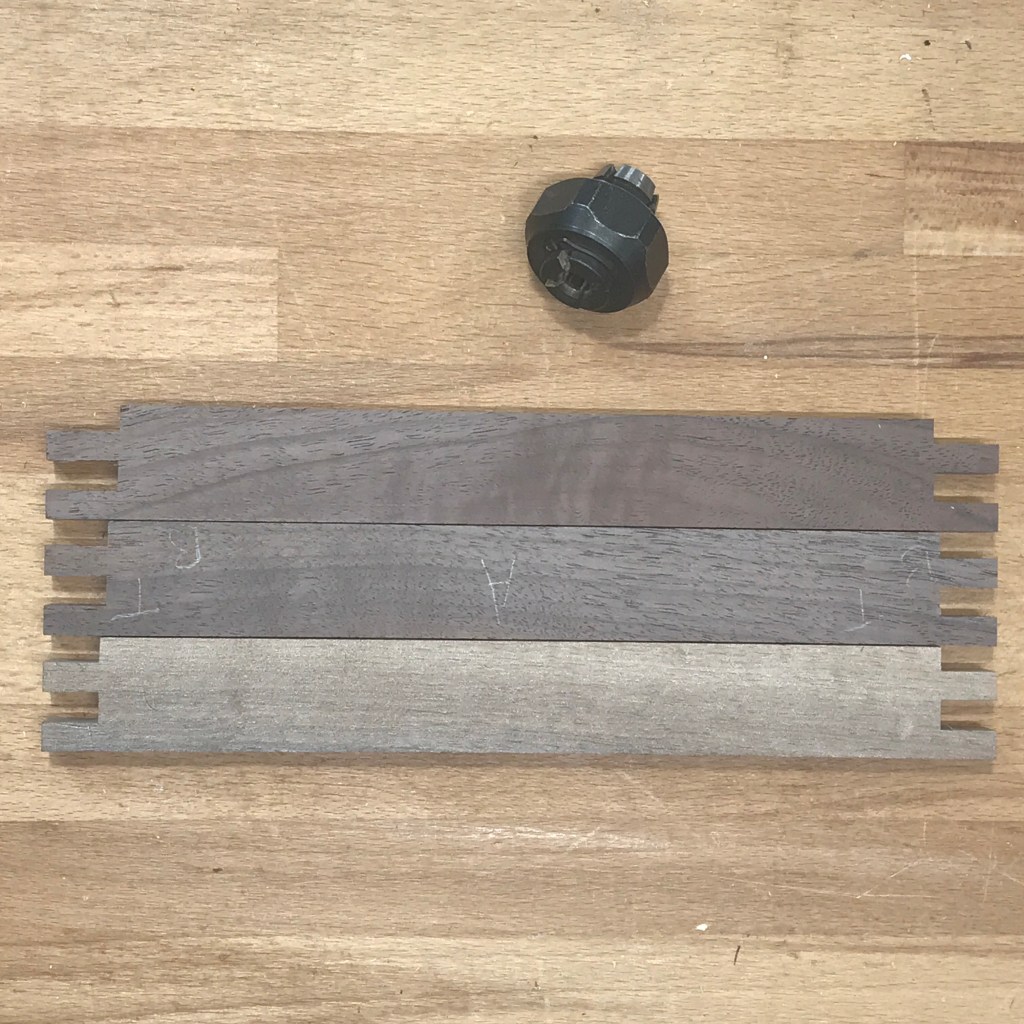
First step was to mill half-inch thick pieces from the raw walnut stock I have on hand using the table saw and thickness planer. This wood came from a downed tree in Decatur, Georgia near where I lived at the time. The property owner invited neighbors to come grab whatever scraps they wanted after the big pieces were professionally cut and hauled off. I got quite a few chunks and this is the second project using that wood.
Bottom piece:

The box joints were tight, the fingers protruded the right amount and the glue-up went smoothly. Yay! On to the top. And on to three failures.
First failure (skill). As you can see in the photo above, I did the bottom glue-up using corner clamps. They work well but you still have to be careful. I apparently wasn’t with the top piece and it set up out-of-square. Boo.
So, back to the stock to make four new sections for the top. Fortunately, the router table and box joint jig were undisturbed from the first run. If that had not been the case, because the router bit height is crucial to the final overall size of the box, I would have to spend a lot more time and care getting it right so the top dimensions would exactly match those of the bottom. Hold that thought.
Second failures (equipment). The second attempt at the top piece was a bigger disaster than the first. Without my noticing it at first, while running the wood through the router bit in the box jig, the bit actually slipped in the collett (the part of the router that grips the bit) causing the depth of the cut to increase. In the next photo, I’ve lined up three pieces and you can see the length of the box joint fingers increases from bottom to top. The offending collett is shown too.
Back to the wood stock to get three new pieces (the first piece above actually is correct – the collett began slipping on the second). That thought I asked you to hold onto? Well, here we are. Because I had to reset the router bit (tightening down firmly) and the box joint jig, I had to do the tedious process of adjusting, testing, adjusting more, testing again until the bit was cutting exactly the right amount as with the bottom piece. After doing that, I ran them through the router and jig. AND IT HAPPENED AGAIN! Gah. The bit slipped in the collett. Again.
At this point, three thoughts passed through my mind. First, give up and go back to making air purification units (see previous blog post). Second, I’m running out of walnut and can’t afford another disaster like this. Third, why did this happen? I tightened the collett pretty firmly. After dismissing the first thought and keeping the second in mind, I had to get an answer to the third. Yay internet. Turns out that colletts can actually wear out and lose their gripping power. Who knew? Not me, obviously. So I ordered a new collett and put the project on hold until it arrived.
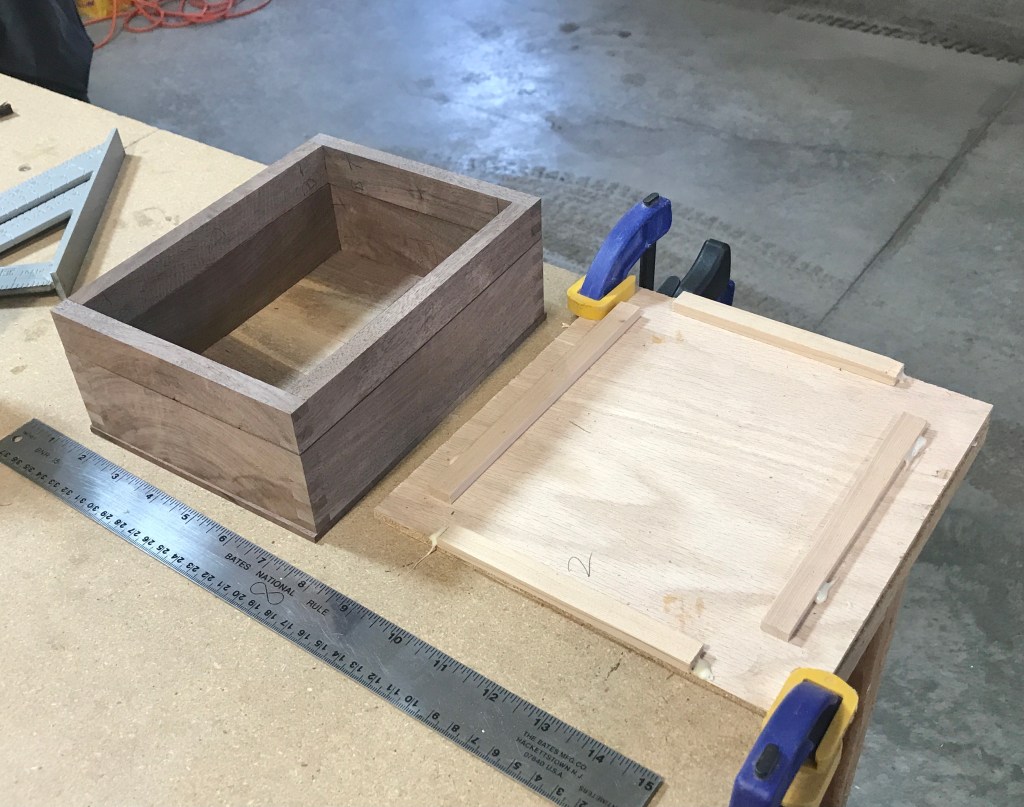
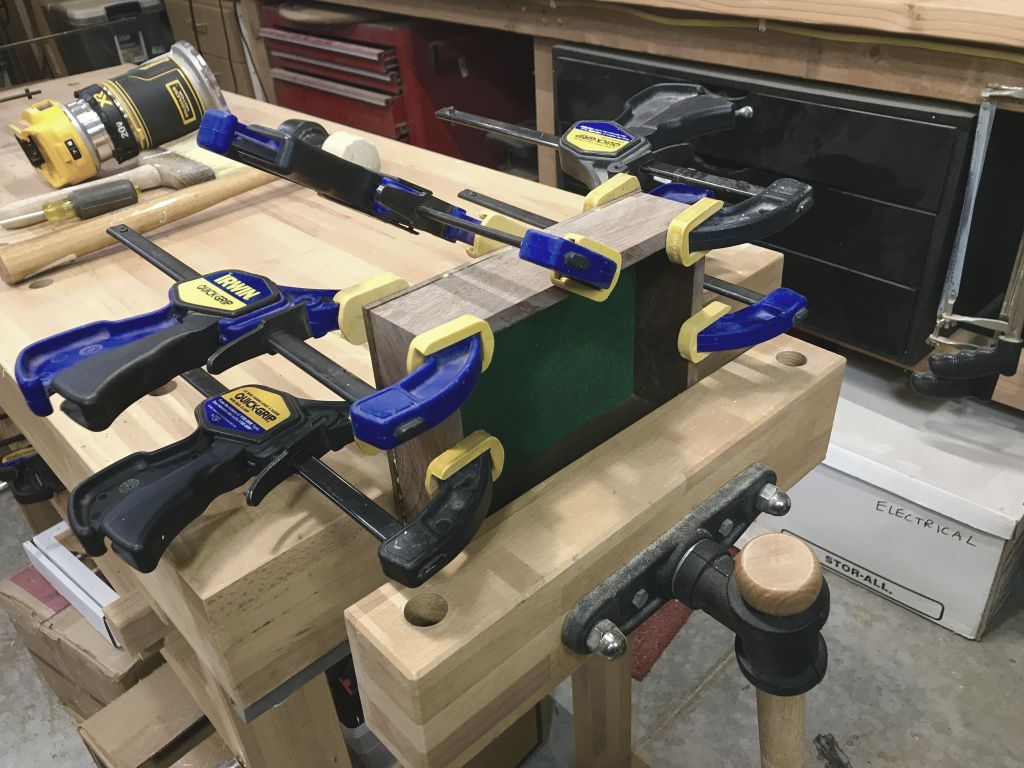
Resuming work with the new collett (I ordered both a 1/4 inch and 1/2 inch), I repeated the process of router bit and jig setup and managed to end up with four good sections for the top piece. This time, instead of relying on my corner clamps, I made a simple jig to hold the thing square while the glue set. Worked fine and I now had both the top and bottom pieces mostly done. Still needed a lid and a base. The two photos show the base already made and the initial sanding to get rid of the protruding joint fingers (I used a sanding disk installed in the table saw). I didn’t take any photos while making the base and lid – nothing disastrous occurred in that process despite having to edge-glue two fairly thin pieces of walnut to make each.

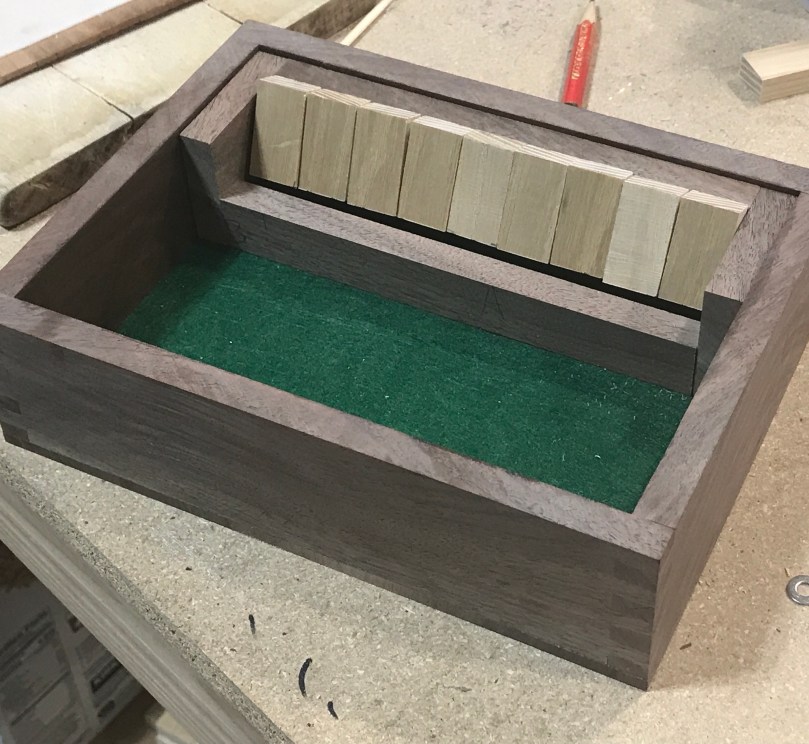
At this point, the box is mostly done. Still have to install the lid and base, install felt, install hinges and make the inside bits. Gluing the lid & base and installing felt was straightforward.
Next up was hinges. My first plan was to use side-rail hinges because they look cool and I already had them on hand. Unfortunately, that didn’t work out. Initially, I wanted to cut the hinge mortises using my Dewalt compact router and the hinge mortise jig I bought from Rockler. But I couldn’t find a guide bushing that would work with that router. Inquiries online informed me that that was a design flaw with the Dewalt. OK. Next plan was to use the router table and fence which would have worked well except for:
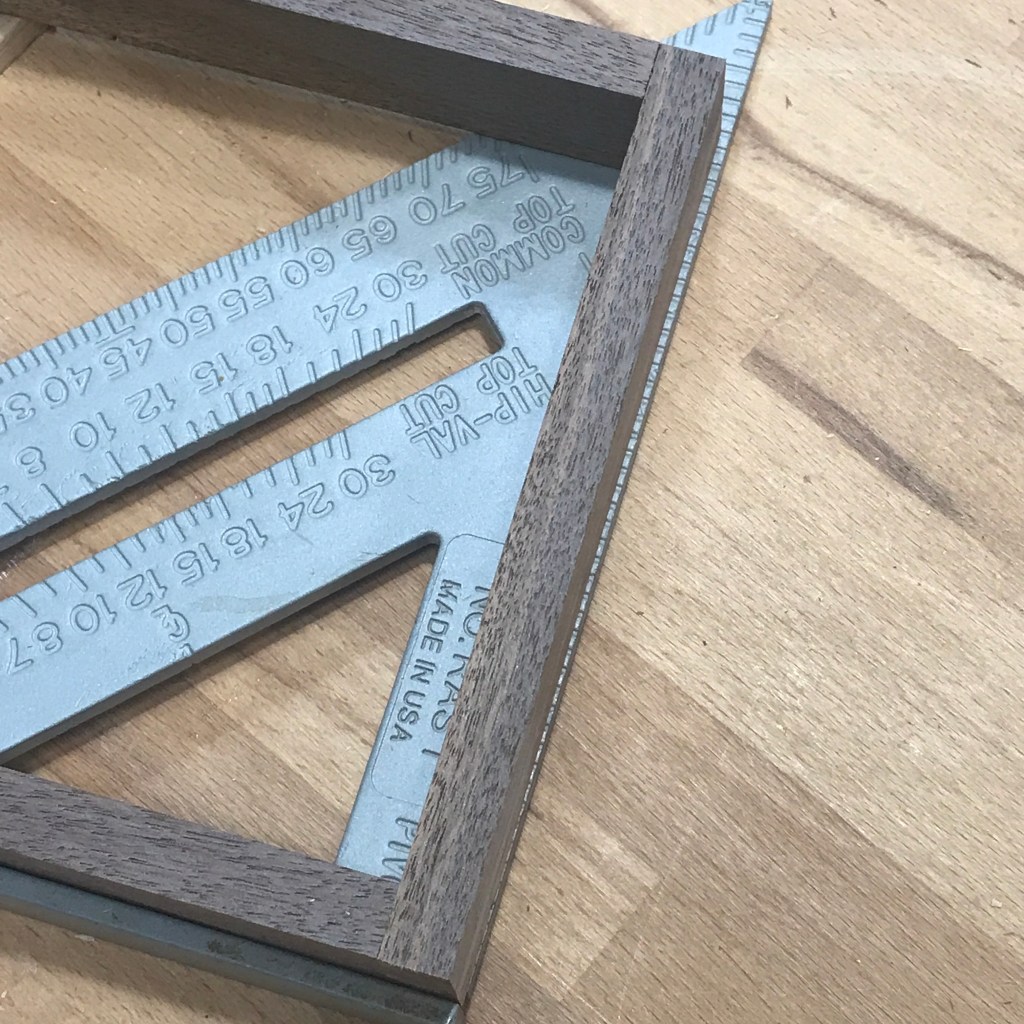
Third failure (design). Using one of the now many pieces of discarded top pieces, I attempted to practice cutting a hinge mortise and discovered that I had not thought out that design well enough. The mortise would need to cut across a very thin finger along the back edge of the bottom piece. Walnut being brittle, the wood chipped. The design should have accounted for having a finger at the top of the bottom side piece running all the way to the back. See photo. Unfortunately that really wasn’t something I could recover from and still use side-rail hinges. I had to go with box hinges set into the back edge. That was a disappointment because I liked the look of the side-rail hinges. Photos shows the box hinges and the little pieces I glued into the hinge mortises to get the hinge placement precise. With hinges, it’s imperative to get them correct or the top and bottom of the box won’t line up and it will be obvious. I managed to get it right.


Next, the insides. The number tiles are held by a rod in a rack such that they flip down easily and lay on the front rail. Making the rack was routine. The original piece had a design on the back of the tiles but I decided against anything like that. If I had a CNC machine I might have done something. There were two attempts at making tiles. Initially, I tried making them out of white oak but the intense grain of oak deflected the drill bit enough such that the tiles didn’t line up evenly on the rod. It looked bad (see first photo). To correct that problem, I went with alder, a soft white wood which the drill bit cut through easily. After adding stick-on numbers and chamfering the tile corners, the end result looks good.
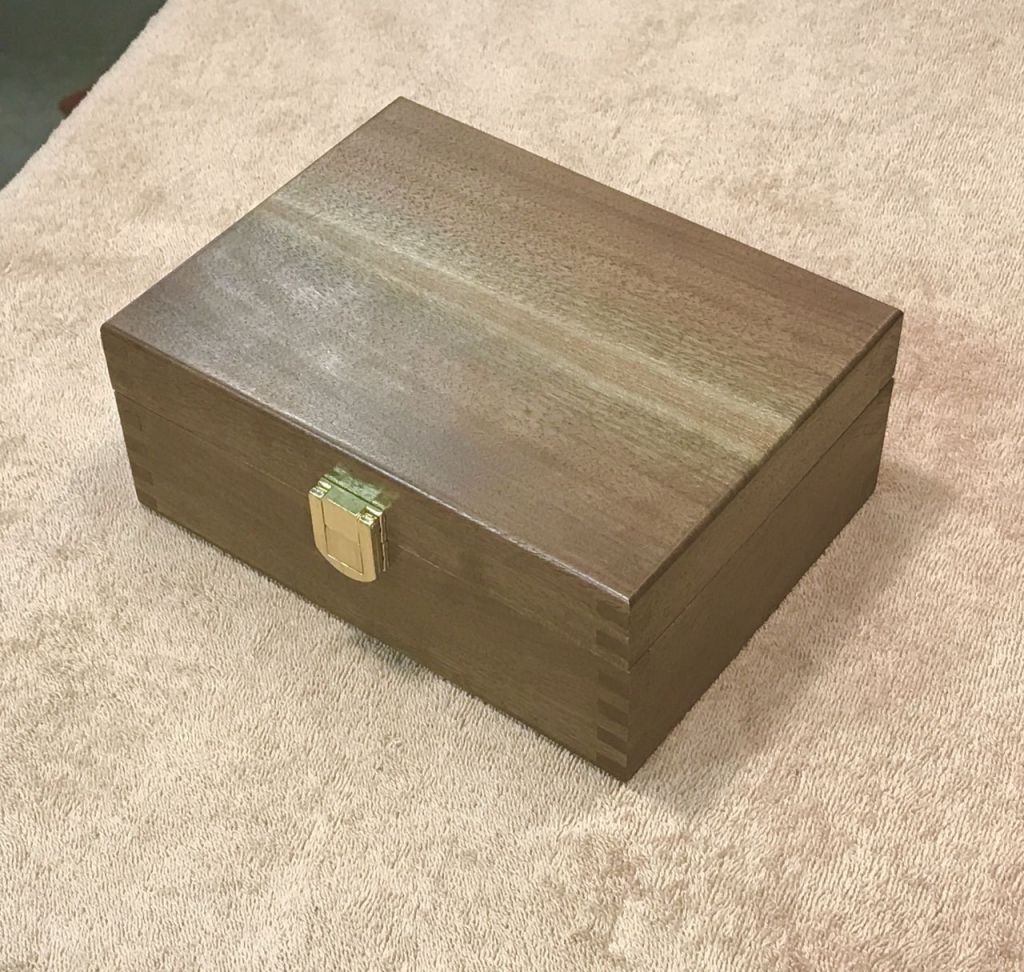
Finishing the box. Rounded all edges at the router table, then lots of sanding but still not enough to completely remove the mechanical sanding marks from the table saw disk. I’m really not good at finishing projects. After it was good enough for me, I applied several coats of wipe-on poly. I considered using something fancier like lacquer but the poly is easy, durable and makes the walnut look nice. Added a simple clasp and that’s it!
Despite all the failures and aggravation, it was a fun project and I’m pleased with the result. I’ll have to take it to the pub and try it out, after at least one pint of cask ale.
Next up in this series: Shove Ha’penny.

