
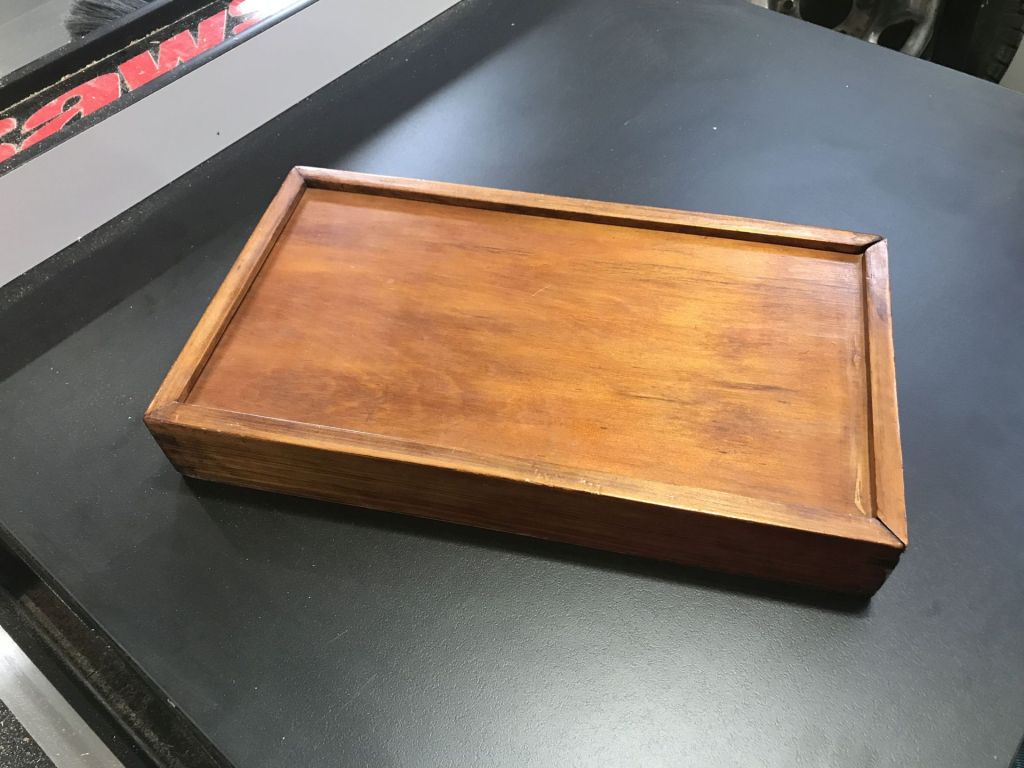
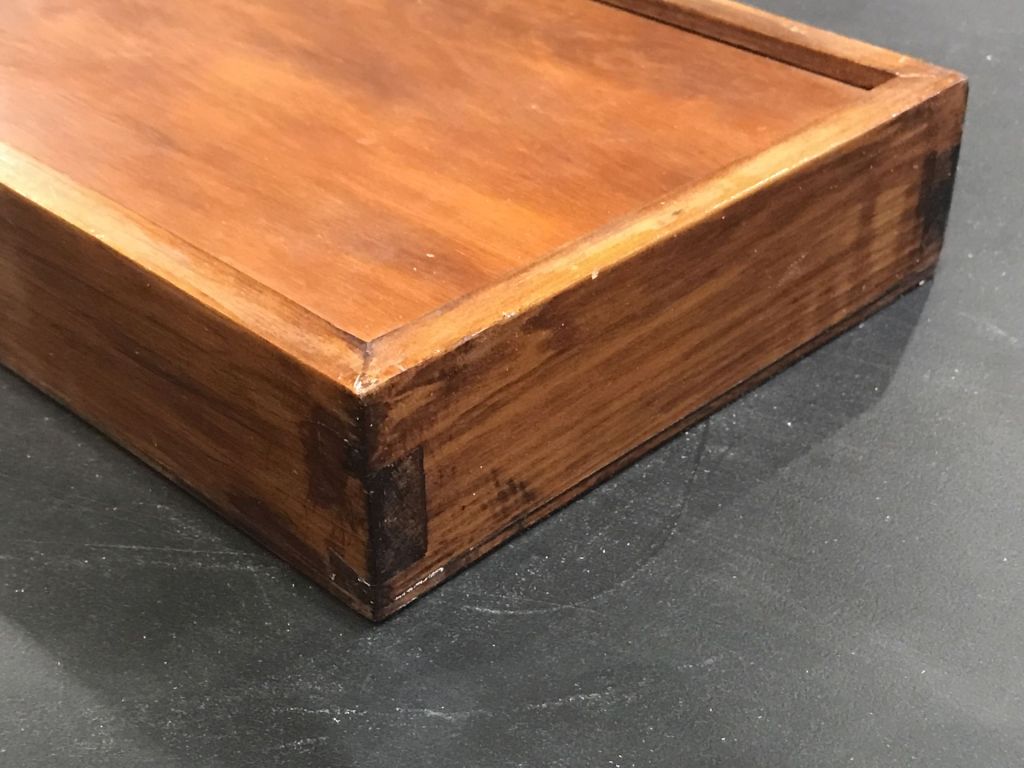
Although I still can’t claim much expertise even now, I can call myself a long-time woodworker. Over fifty years, in fact. While casting my eye about looking for a new project, I saw something I’ve had since my high school days in Queensland, Australia: a slide-top box made in woodshop class using hand tools, mostly. It’s not much to look at and the dovetails are really crude, but it’s lasted fifty years and the top still slides open nicely.

My thought was – why not duplicate it except not with dovetails? I suck at dovetails and even donated my jig to the local DIY place. I’ve been looking for an excuse to use my box joint jig and this seems like the ticket.
Having no clue what wood species the original was made from, I decided to just use white oak because I not only had some pieces left over from one of the air filter projects, I also had leftover white oak veneer.
I’ll jump ahead and post the final results. Finish is a wipe-on poly, lightly applied.

I was a little worried how the oak would do in the box joint jig, anticipating some chipout but it did quite nicely. Helps to have sharp router bits. The jig being a newish addition to my tool inventory, I was somewhat unfamiliar with it. Lessons would be learned. The first lesson involved the highly recommended step of setting up the jig using test pieces. I did that with some scrap hemlock but I sort of ignored the part about the test pieces needing to be the exact same width. Mine were close but not exact. Well, close only counts in horseshoes and hand grenades, as they say. I had to repeat the test setup using correctly sized test pieces. I did gain some experience with the jig however and the small box I made with hemlock was nice enough that I made a trinket box out of it.

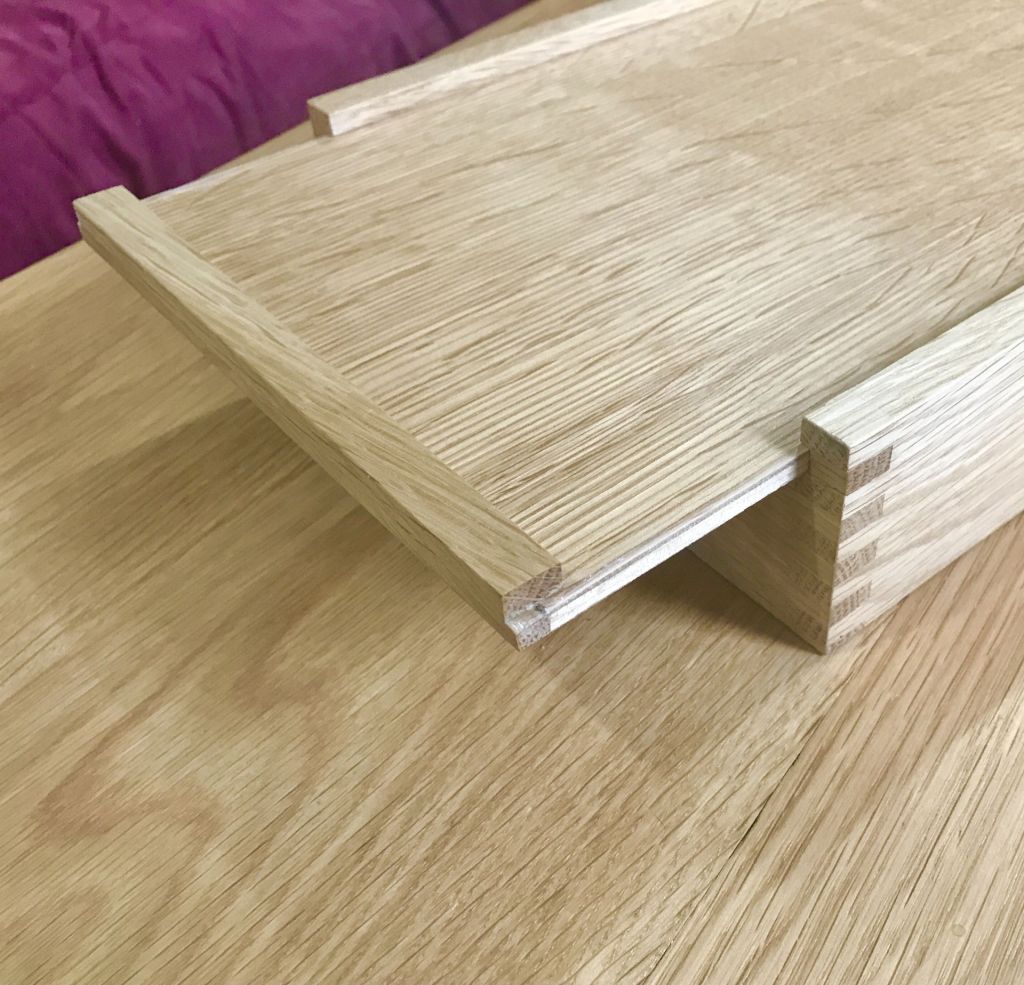
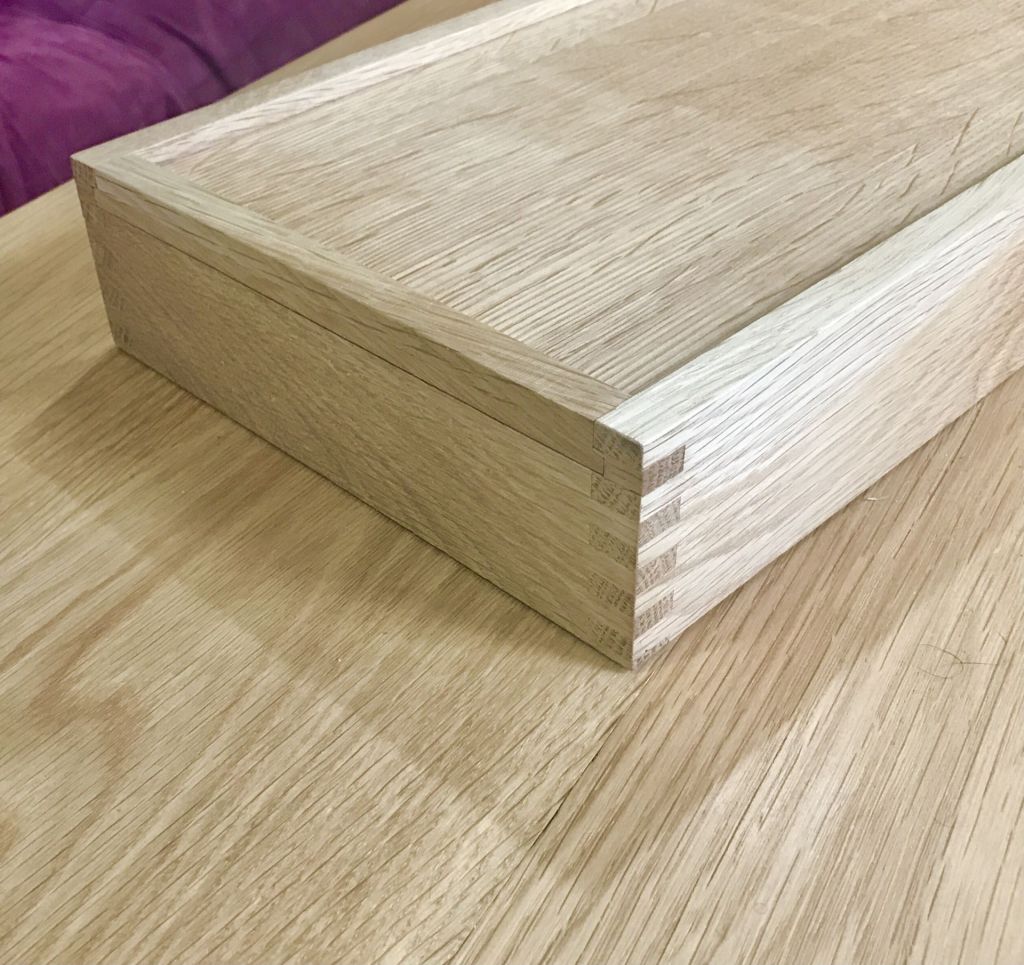
Results with the white oak – very clean fingers.

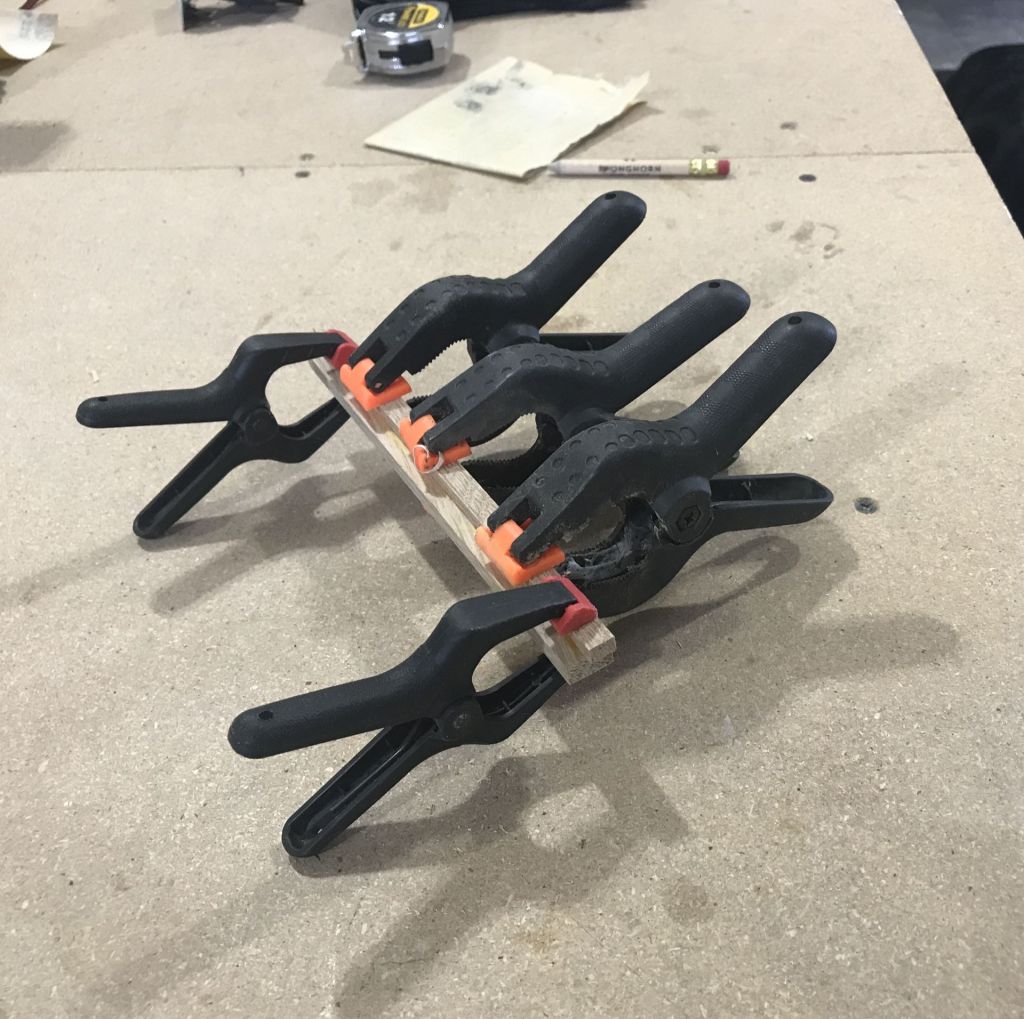
After some routing and dadoing, check for square and glue up:

After applying the veneer to the 1/8″ plywood top, I needed to fashion the end piece.

Had to fill in a couple of spaces with scrap oak. I probably could have designed it not have to do this but, as is my practice, I was winging it.

The only things remaining were to attach the bottom and apply the finish. One improvement I made from the original was to rabbet the bottom edges to accept and hide the plywood bottom. The original did not do that, so you can see the bottom from the sides. I also did not exactly match the overall dimensions as you can see (photo before I applied finish). The new is about the same width, a little taller and significantly shorter in length:

This was a fun project both from the standpoint of doing box joints and because it recapitulates an object that represents one of my earliest memories.
