
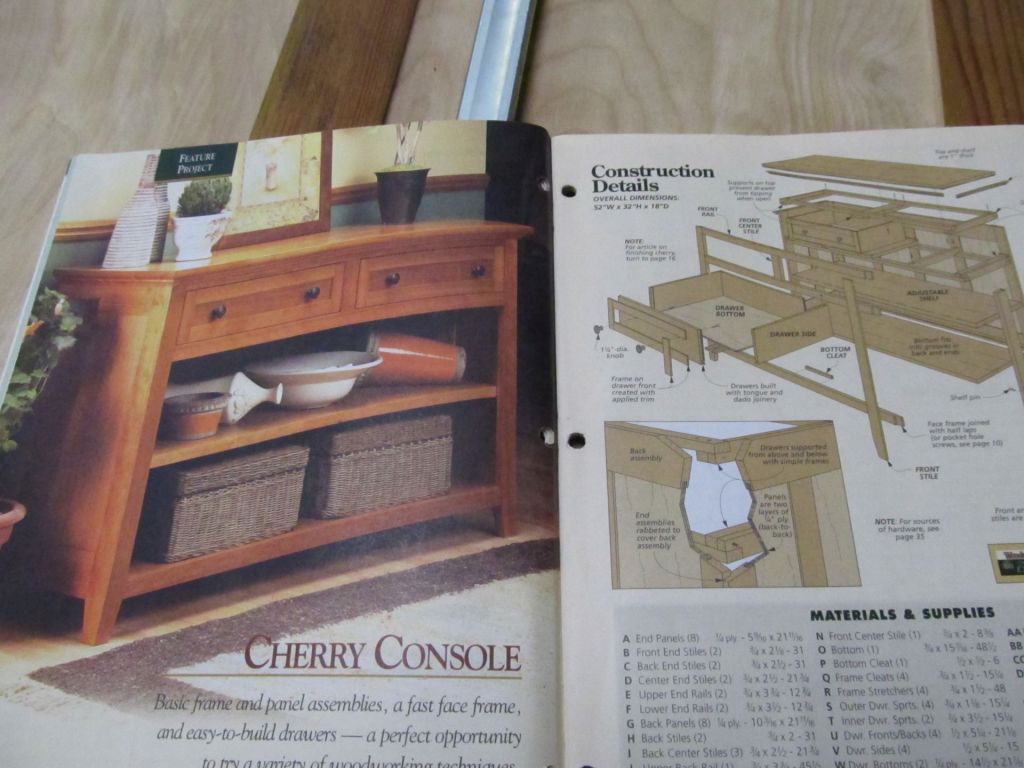
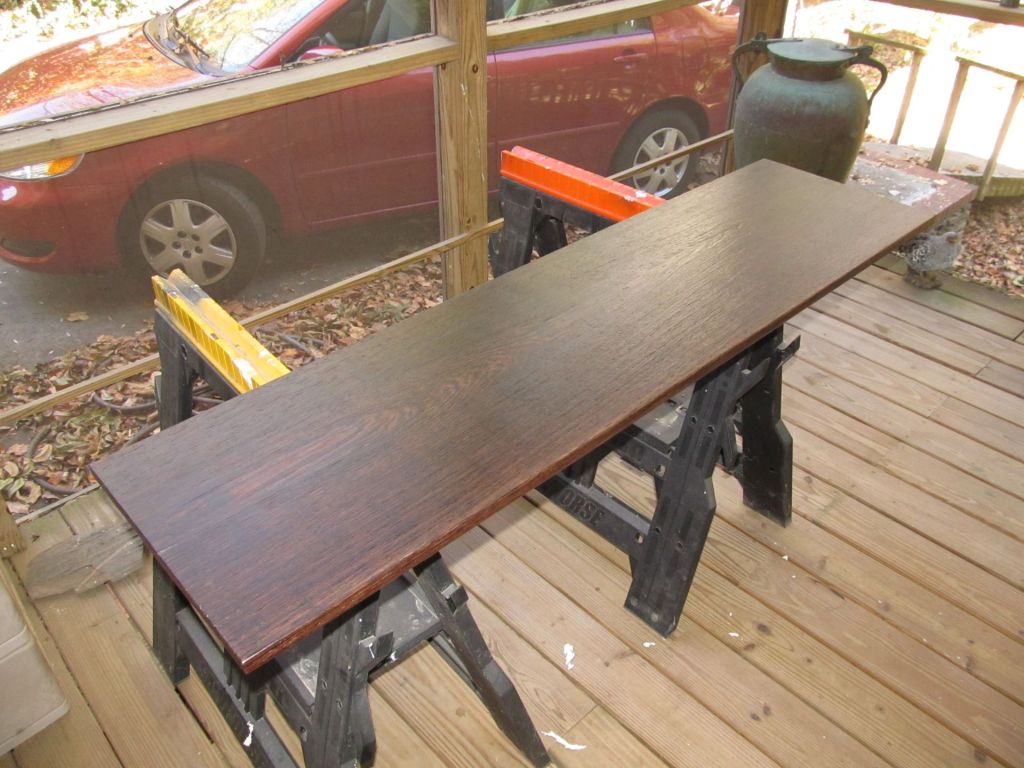
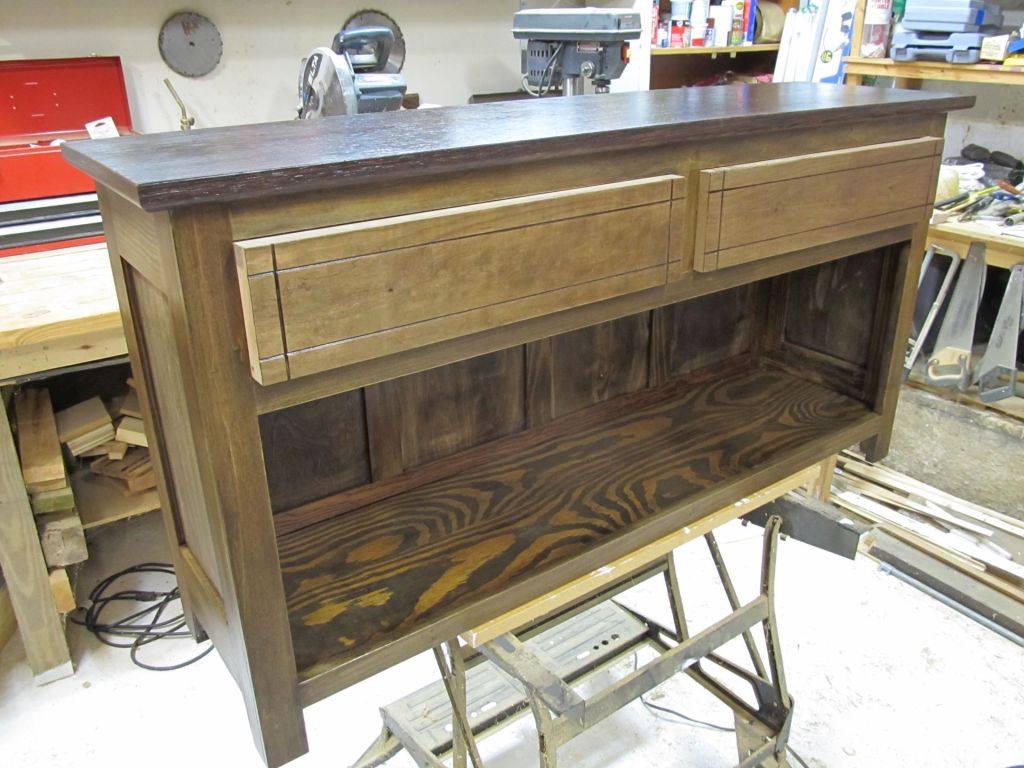
About a dozen years ago, I decided to build a TV console to help de-clutter the various devices feeding our television. It wasn’t meant to be a super nice piece of furniture, mainly because I decided to build it mostly out of scraps of various species of wood I had on hand. Except for the top – that would be from a really nice piece of wenge I obtained years earlier for a project that never came to fruition. The basic design came from an article in a woodworking magazine:
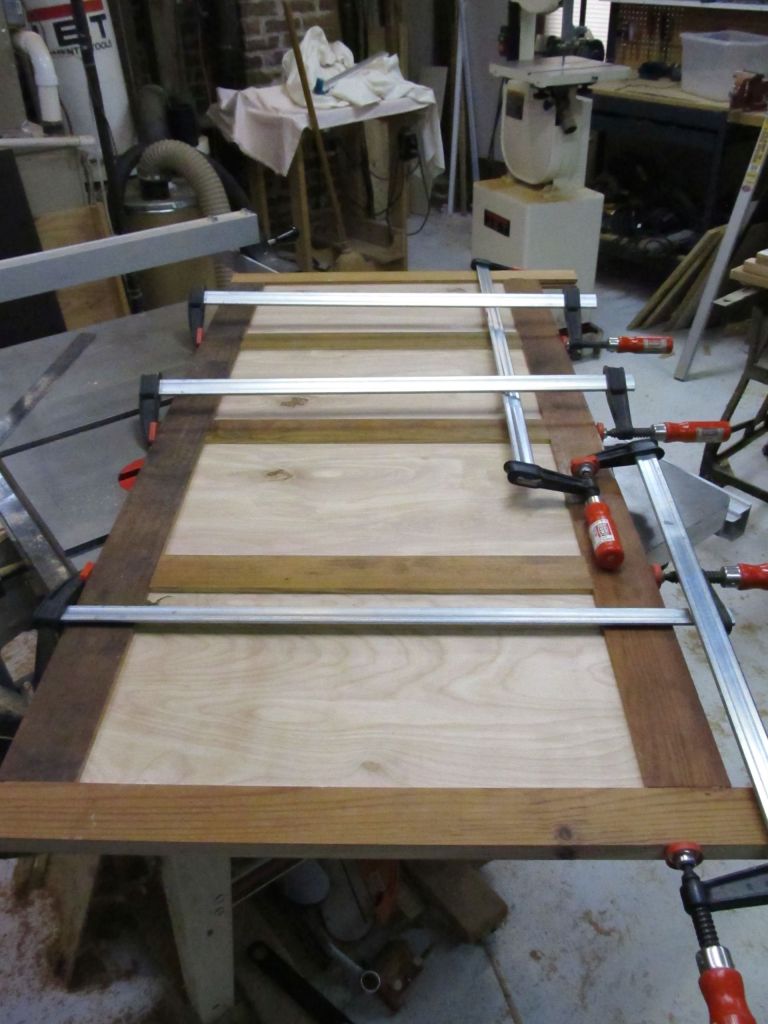
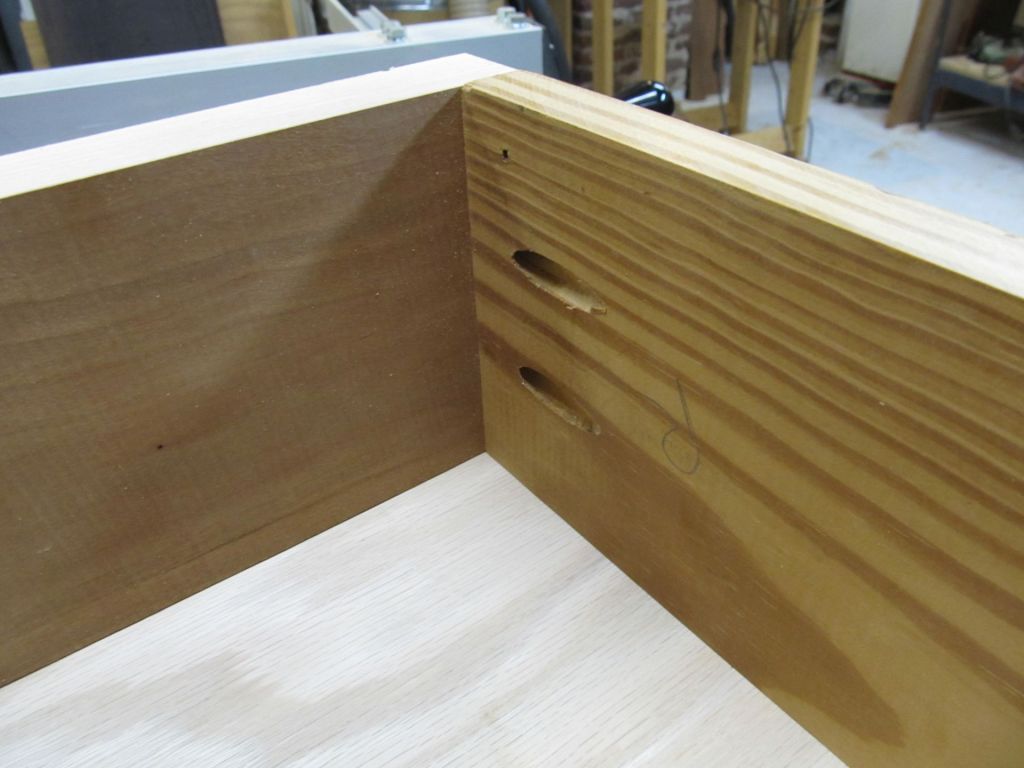
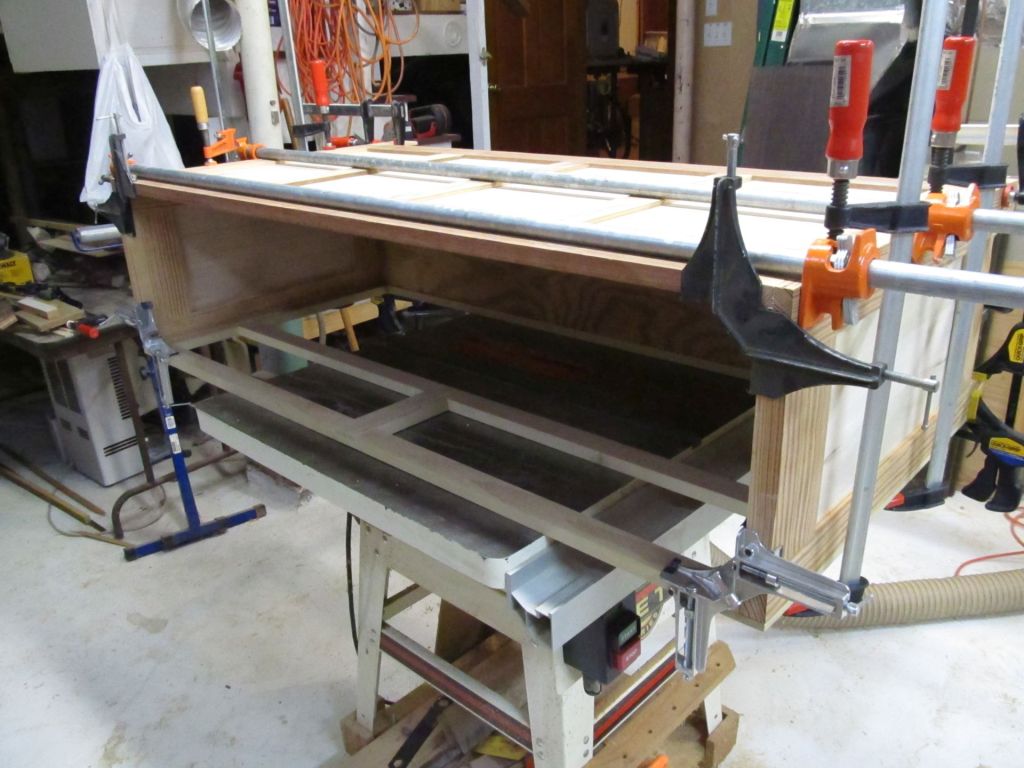
Here’s a few photos from the build:


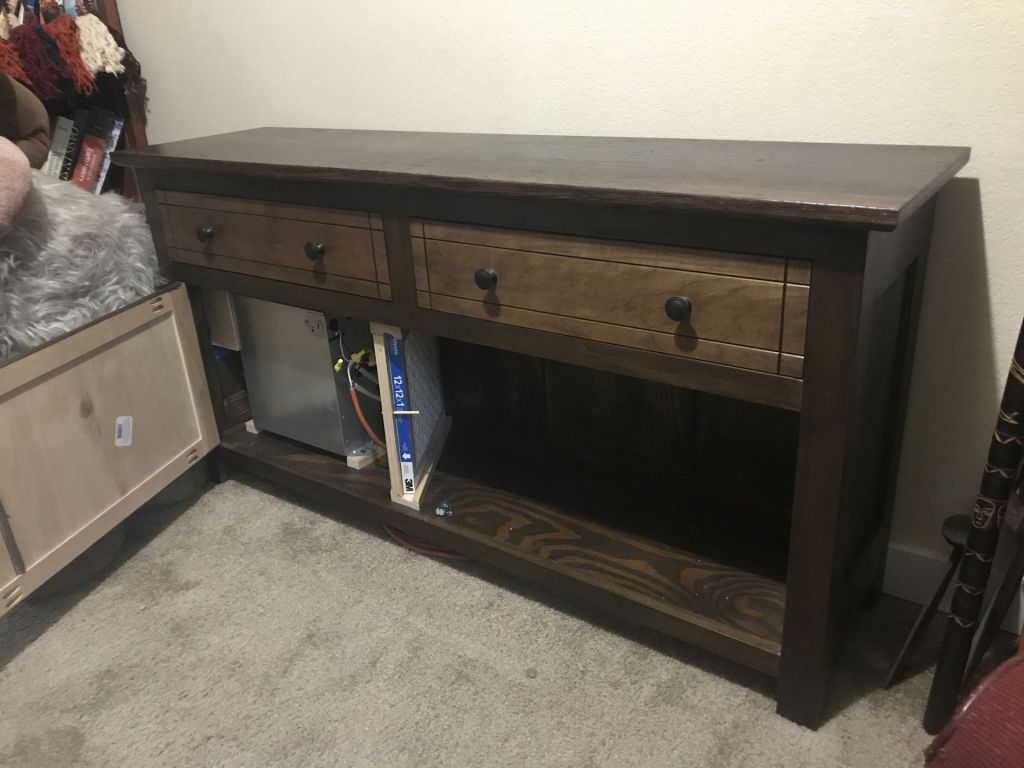
And the finished product (probably should have dusted the top before taking the photo):

So that’s the starting point for this latest air filter project. In an earlier post, I detailed how I built an end table filtration unit using an ultra quiet bathroom fan and a 12 x 12 near-HEPA filter. That worked out pretty well – we get a lot of wildfire smoke in central Oregon. In the bedroom, I’ve been using the first filtration unit, which is a stand-alone piece that doesn’t double as a piece of furniture. But, although it probably works better than the end table unit because of its larger filter (12 x 24), it’s kind of ugly. We’ve moved since I built the TV console and it now serves as an end of the bed … cabinet, table, whatever you call that sort of thing. A couple of months ago, I was staring at it (and I think I will just refer to it as a TV console) and thought that we really didn’t use the four baskets that sit on the lower shelf all that efficiently. And I looked at the ugly filter unit. What if I replaced two of those baskets with a fan & filter and installed a door? Yep, I’m doing it.
I’ve learned a bit from the first two filter projects (the ugly one and the much nicer end table) so installing the fan and filter in the TV console went a lot smoother. The challenges are two-fold. First, I had to figure out how to orient the fan so the exhaust port points in a direction away from the filter – doesn’t do any good to promote a circulation loop – and where I could easily breach the side panel of the console. The other units had four inch dust collection fittings installed to accept a hose. This one would just exhaust directly out the side with no hose. Second, I had to figure out how to mount a filter so it could be replaced easily. The first unit – with the bigger 12 x 2 filter – kind of failed that criterion as it requires removing several screws to get at the filter. The second unit – the end table – has the fan sitting horizontally with the filter resting on top in a custom frame. Very easy to change out by opening the louvered front door. The TV console couldn’t use either of those configurations. The depth of the console is less that 12 inches, so the fan had to be aligned vertically and the 12 x 12 filter had to be angled to fit. Took a little experimentation but I think I managed to nestle both inside the console nicely. The air is drawn from the right side where the two remaining baskets sit, and is exhausted through a port in the left side. There’s a screen covering the port. As with the end table unit, along with an on/off switch, there’s an electrical outlet for convenience. Not sure what we might plug in but it’s there.
There was actually a third challenge, one I couldn’t manage quite as well. Because the TV console was built with several species of wood, I tried to get them all to ‘blend’ by using a dark stain. Either black cherry or walnut, I forget. It worked out OK, not great. But now I was adding a front panel door of yet another species. And as I mentioned, I couldn’t remember the stain I used. The final result is also just OK. Given the bedroom is usually fairly dark , it’ll do.
The filter is easy to change. Two strips of wood are dado-ed to loosely accept the filter and I installed weatherstripping front and back to seal it in fairly snugly. A wooden dowel holds the filter against the rear weatherstripping and the door latch is set to seal the front weatherstripping against the filter frame. Just open the door, pull the dowel and slide the filter in or out. All the other avenues of air leakage are sealed as well, so essentially all the air drawn through the fan goes through the filter and out the exhaust port. A little might leak out around three sides of the door but not much.
The finished product:


Having the console down in the woodshop opened up the bedroom a bit, so I decided to place the finished piece against a wall until we need it. It’s easy enough to slide it over the the end of the bed when the air quality gets bad, as it inevitably will again next summer, and the summer after that.
Next up, a filtration unit for my neighbor. When the air was really bad this year, I quickly cobbled up a fan-filter for her to help alleviate headaches and such. Her unit will essentially be a copy of my end table piece, sized to fit.
